PRO GUIDE: REMOVING PAINT FROM CONCRETE WITHOUT DAMAGING THE SURFACE
The Fast Answer: Which Solvent for Which Paint?
Removing paint from a concrete driveway isn't about brute force; it is about chemistry. To remove latex or acrylic paint, you need a soy-based stripper or a solvent like Motsenbocker’s Lift Off. For oil-based paints, citrus-based strippers or heavy-duty methylene chloride alternatives are required. Apply the stripper, allow a dwell time of 20 to 60 minutes, scrub with a stiff brush, and rinse with hot water at 1,500 to 2,000 PSI. If you use too much pressure, you will etch the concrete forever. Focus on chemical breakdown rather than mechanical blasting. In my 15 years of field engineering, I have found that the temperature of the water is more important than the pressure on the gauge.
Why Traditional Scraping Fails on Porous Concrete
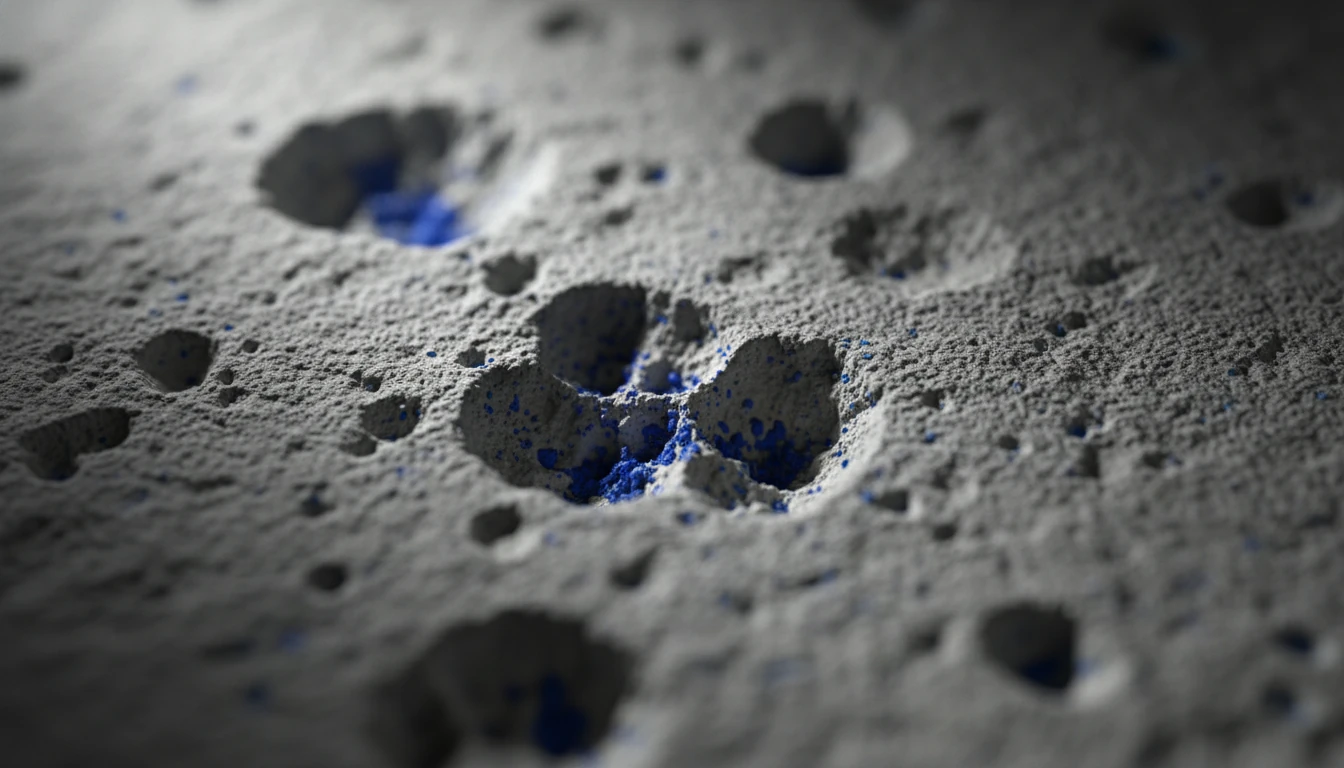
I see it every week. A homeowner spends three days with a wire brush and a putty knife, only to end up with a scratched surface and 80% of the paint still visible. Concrete is not a flat, solid block. It is a dense network of tiny tubes known as capillaries. When paint hits the surface, it doesn't just sit on top. It gets sucked into these pores via capillary action. Scraping only addresses the surface film. It does nothing for the pigment lodged three millimeters deep into the substrate.
Our findings show that mechanical scraping often creates 'scuff marks' that are harder to remove than the paint itself. When you scrape, you are effectively polishing the high points of the concrete aggregate while leaving the paint in the valleys. This creates a textured mess that looks horrific under afternoon sunlight. To get the paint out, we have to pull it out, not scrape it off.
Phase 1: Identifying the Resin (Latex vs. Oil-Based Testing)
Before you pour a single drop of chemical, you must know what you are fighting. Different resins require different molecular solvents. I use a simple field test: Soak a rag in rubbing alcohol (isopropyl) and rub a small, inconspicuous area of the paint for 30 seconds. If the paint softens or transfers to the rag, it is Latex or Acrylic. If the paint remains hard and shiny, you are dealing with an Oil-Based or Epoxy coating.
Pro Tip: If neither happens, you might be looking at a concrete stain or a lead-based paint. If the house was built before 1978, stop immediately and test for lead. We never dry-grind lead-based pigments.
The 'Shadow-Ghosting' Phenomenon: Why Pigment Remains
Have you ever 'cleaned' a driveway only to see a faint, ghostly outline of the paint when the concrete dries? We call this Shadow-Ghosting. Even after the resin is dissolved, the microscopic pigment particles (often iron oxides or titanium dioxide) remain trapped in the pores. My research into pigment migration suggests that these particles are often smaller than 1 micron, while concrete pores can be 10 to 50 microns wide.
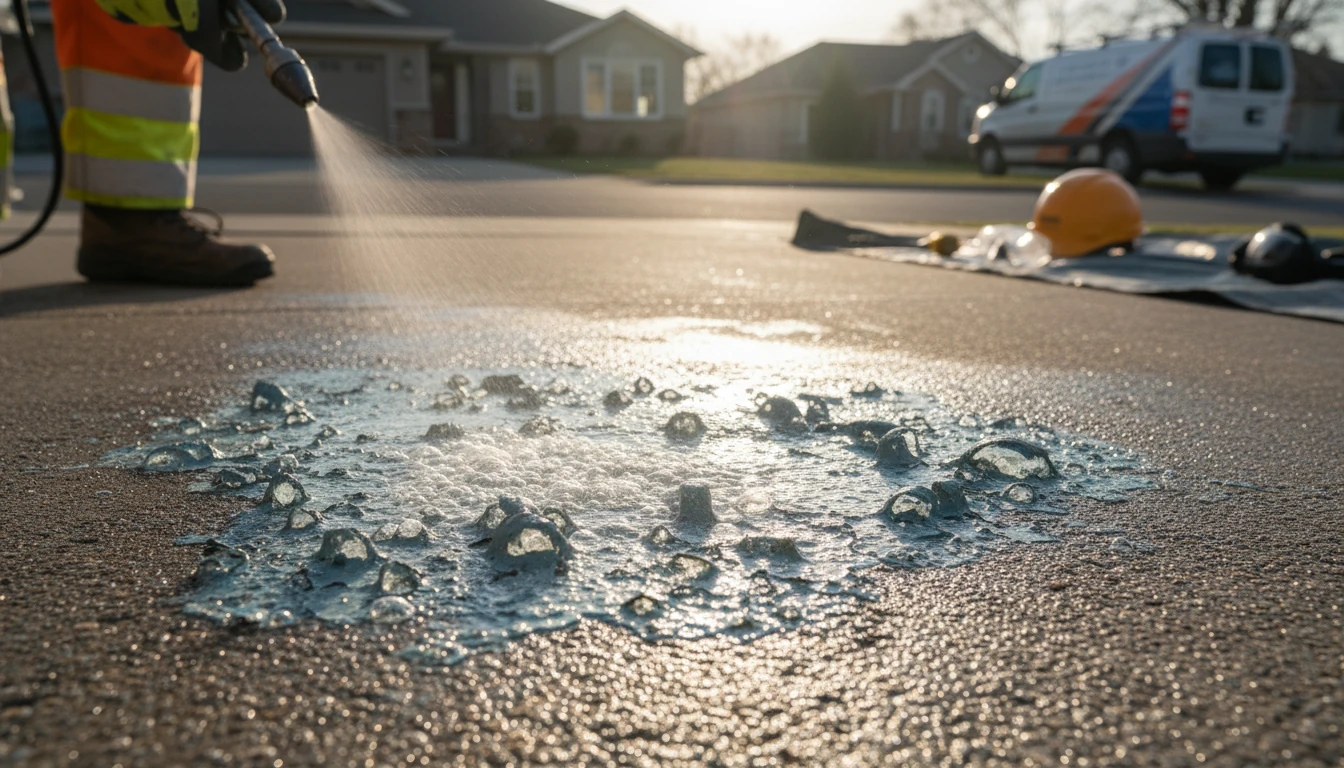
To neutralize ghosting, we use a post-wash surfactant. After the main stripping phase, we apply a pH-neutralizing wash that contains a 'chelating agent.' This chemical grabs the metallic ions in the pigment and pulls them to the surface where they can be rinsed away. Without this step, the shadow will return every time it rains.
Phase 2: The Professional Chemical Stripping Process
We don't just dump chemicals and spray. We follow a strict protocol designed to maximize chemical efficiency while protecting the environment. We start by pre-wetting any surrounding vegetation. Chemicals will slide off a wet leaf but soak into a dry one.
Selecting the Right Bio-Degradable Stripper
In the past, we used Methylene Chloride for everything. It was fast, but it was toxic. Today, I prefer Benzyl Alcohol-based strippers. They are slower but safer and more effective at deep-pore penetration. They don't evaporate as quickly, which is vital for the dwell time matrix we use.
The Porosity-Based Dwell Time Matrix
Not all concrete is created equal. Over time, concrete undergoes carbonation and weathering, which actually opens up the pore structure. Based on our internal data, we use the following matrix for chemical dwell times:
| Concrete Age | Pore Status | Recommended Dwell Increase |
|---|---|---|
| 1-3 Years | Tight / Dense | Baseline (20-30 mins) |
| 4-9 Years | Moderately Open | +5% Dwell Time |
| 10+ Years | High Porosity | +15% Dwell Time |
If the concrete is over 10 years old, the chemical will sink deeper, but it also dries out faster because of the increased surface area within the pores. We often use a plastic 2-mil drop cloth over the stripper to 'lock in' the moisture and prevent premature evaporation.
Phase 3: Mechanical Extraction and Hot-Water Rinsing
This is where the magic happens. Many people think high pressure is the solution. It isn't. High pressure (over 3,500 PSI) will 'cream' the concrete, removing the top layer of cement paste and exposing the aggregate. This leaves a permanent scar.
The Thermal Expansion Method
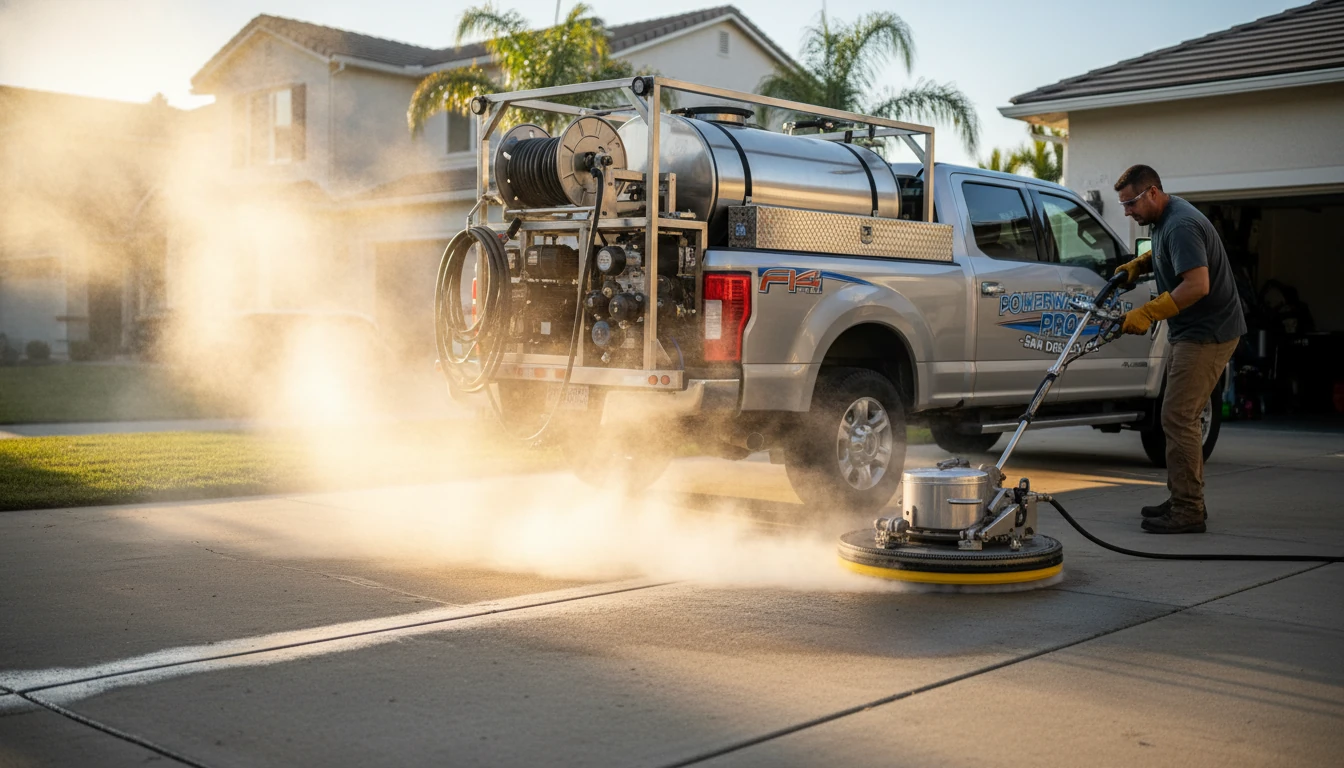
Instead of high pressure, we use Thermal Expansion. By using water heated to exactly 140 degrees Fahrenheit, we cause the paint resin to expand at a different rate than the concrete. This slight differential breaks the bond. We can then use a lower pressure (around 1,800 PSI) to gently lift the paint out. It’s like using a warm soak to remove a bandage rather than ripping it off.
For these results, we don't use consumer-grade electric units. We utilize professional rigs. If you see pressure washing trucks for sale, you’ll notice they almost always feature high-BTU burners. Heat is the professional's secret weapon. A cold water wash is just a rinse; a hot water wash is a restoration.
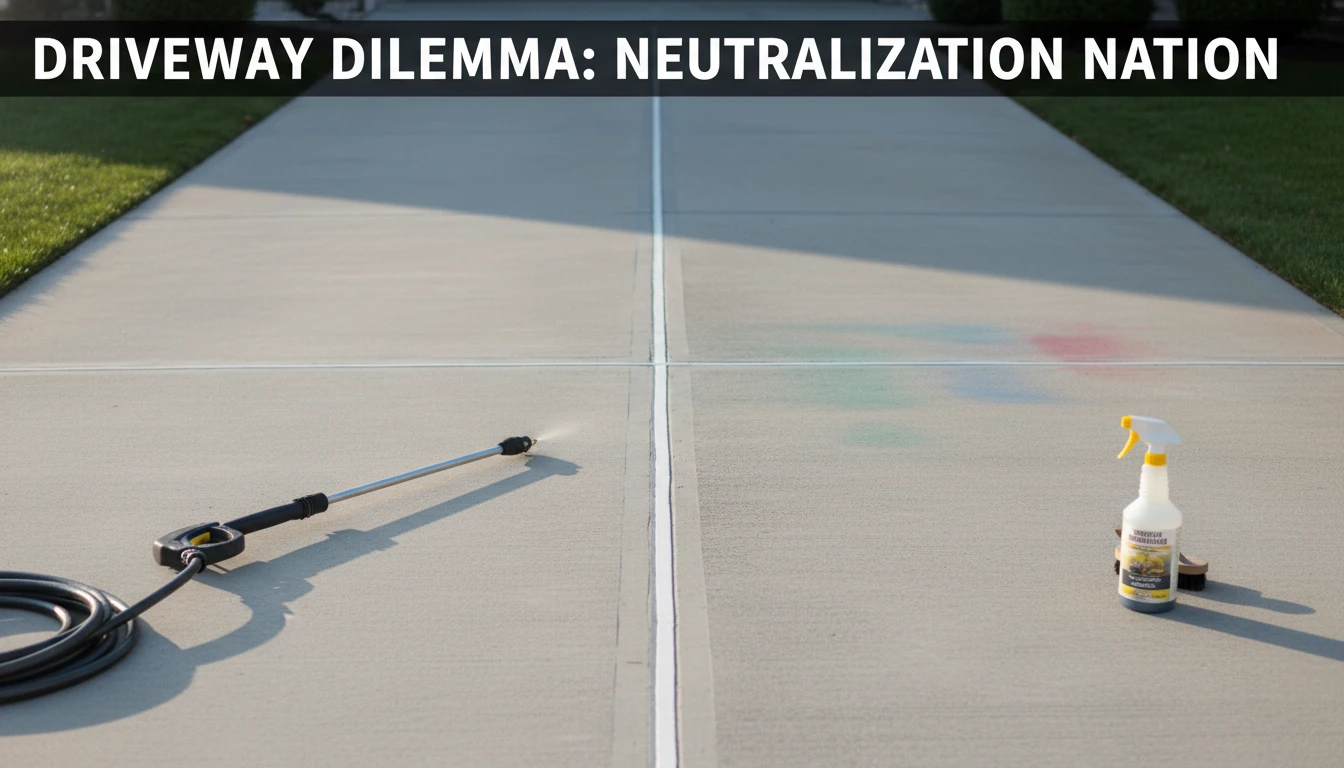
Phase 4: Neutralization and Final Rinse
Once the paint is gone, the concrete is often in a high-pH state due to the strippers. We apply a mild citric acid wash to bring the pH back to 7. This prevents 'efflorescence,' those white salty streaks that sometimes appear on concrete after cleaning. We rinse until the water runs clear and the 'slick' feeling of the chemical is gone from the surface.
Equipment Care and Professional Scaling
After a job involving heavy solvents and high heat, your equipment takes a beating. The seals in your pump are designed for water, not caustic paint strippers. We always flush our systems for at least 10 minutes with fresh water and a pump conditioner.
Protecting Your Setup Post-Job
If you are working in a climate where temperatures drop, or even if the machine will sit for a week, you need to protect the internal components. I always recommend using the best pressure washer pump guard winter storage techniques to prevent internal corrosion. Corrosive paint pigments can settle in the pump manifold and pit the metal if not properly flushed and lubricated. I've seen $2,000 pumps ruined by a single afternoon of 'quick' paint removal jobs because the operator didn't treat the equipment afterward.
Conclusion: Turning a Chore into a Specialty Service
Removing paint from a driveway is one of the most satisfying transformations in the restoration industry. It requires patience, the right chemical matrix, and a respect for the substrate's porosity. Most people fail because they rush the dwell time or use cold water and high pressure. By following the thermal expansion method and addressing the shadow-ghosting phenomenon, you achieve a finish that looks like the paint was never there.
If you find that you enjoy the technical challenge of surface chemistry and the roar of a high-heat burner, you might consider taking this to the next level. There is a massive demand for specialists who actually understand concrete science. You can learn how to start a pressure washing business and turn these skills into a high-margin career. It beats simple 'splash and dash' house washing any day of the week. Master the pores, and you master the concrete.